
A Guide to Staining Pine Lumber to Achieve Great Results
How to get consistent color with pine wood stain
Pine is a useful, common building material used in building projects, small personal projects, for siding, patios and much, much more.
So knowing how to properly stain pine wood is important, because you want your pine to look its best in the final product. Whether you're using lumber from the hardware store or material milled on your portable sawmill, you want the best results for your project.
Thankfully the steps to making your pine shine is very simple, and with a few quick steps your pine wood will pop thanks to it's great stain job.
This guide will help you get the perfect results for your staining job, so let's get into it.
Why is it important to get the staining process right?
When applying stain you can make the wood grain pop and elevate your project with bright or interesting colors. Because of this many woodworkers and builders apply stain as the final step to make their projects look great.
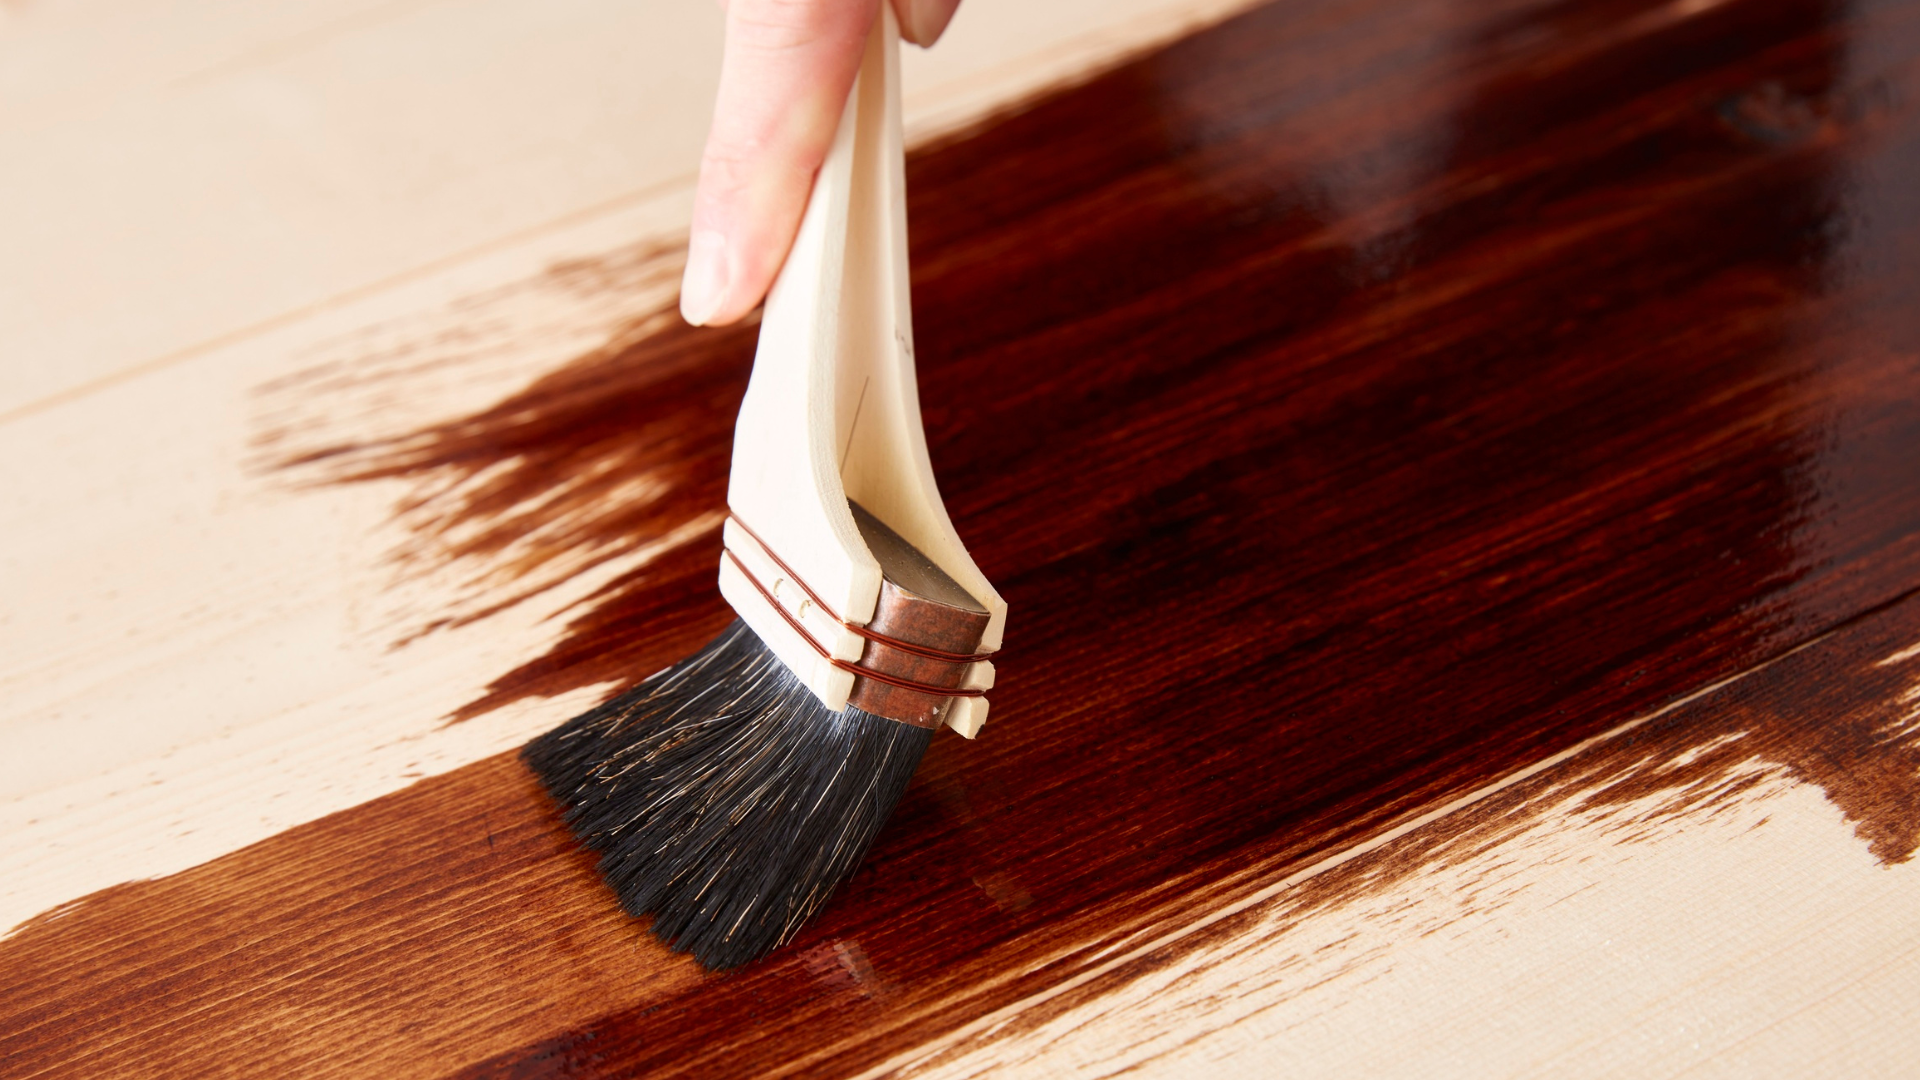
But there are also some things you can get wrong, which impact the wood's ability to absorb stain. If you apply the stain unevenly, you risk having a blotchy finish that doesn't reflect all the work you put into the project.
Pine wood is also a porous material, which is prone to splotchy stain jobs if not done carefully. So make sure you take your time and follow all the steps to the staining process and you can make your projects shine.
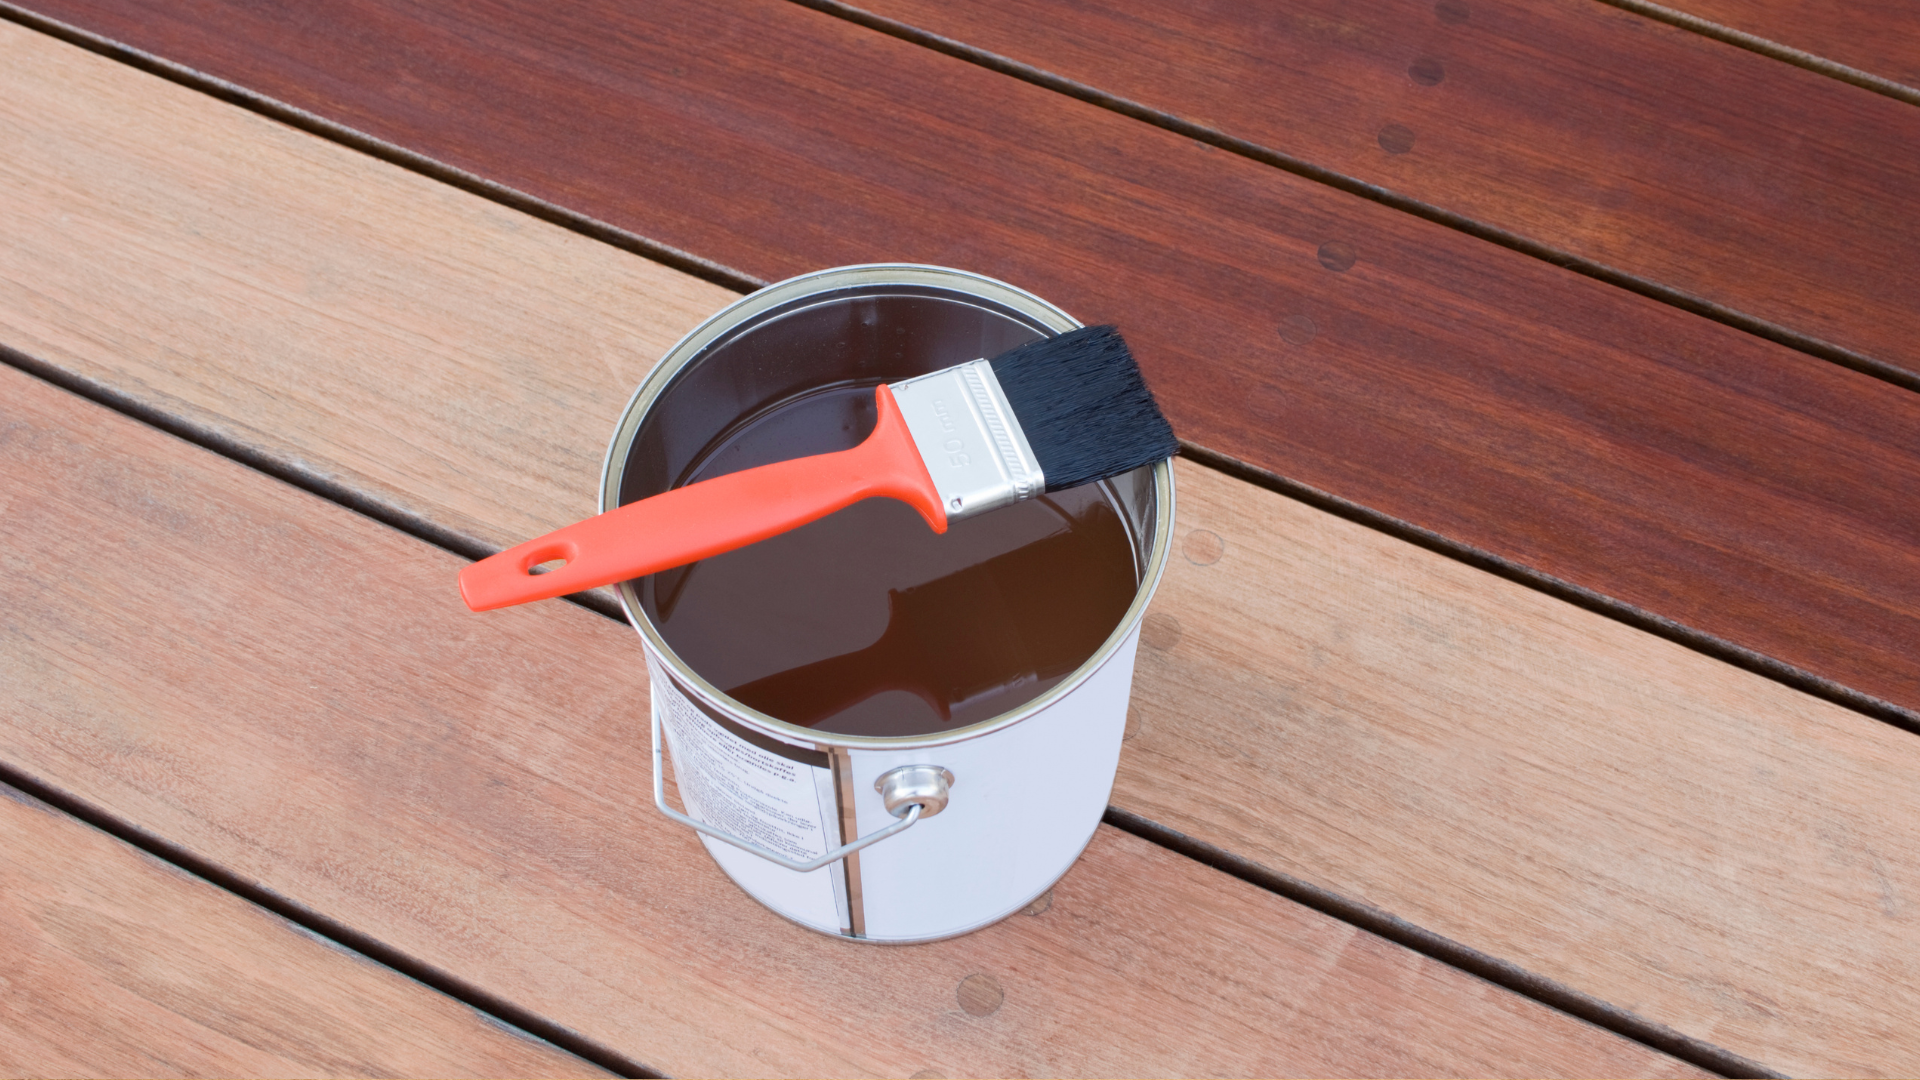
What supplies do you need to stain pine wood?
Here's everything you need for each step of the staining process:
-
-
A paint brush: Natural, synthetic, paint roller or even a foam brush will work.
-
Wood stain: There are four different types: oil stains, water based stains, lacquer stains and gel stains
-
Rags: To spread large quantities of stain or get into difficult corners
-
Spray bottle with water: For doing light surface cleaning
-
That's it. There are some optional steps you may want to consider, so let's get to that next.
Should I use a pre-stain wood conditioner before staining?
Pre-stain conditioners, also known as wood conditioners, are a finish you apply before staining. The idea behind them is that they penetrate the wood and assist the stain in applying evenly.
Some woodworkers and builders stand by these products, others don't see the need. Some believe pine absorbs stain unevenly without a pre-stain conditioner.
It's always recommended you apply the stain to an area people won't see first so you can test how it looks. If you do this and if it's drying unevenly or blotchy then you can always try a pre-stain conditioner to see if that helps. The conditioner should be applied for at least 15 minutes before staining.
What are the different stains I can use for pine wood?
Here are the four most common stain types you might use on your pine lumber:
-
-
Oil Based Stains: These stains penetrate the wood for a deeper color. A pre-stain conditioner may be necessary to give oil stains the best results.
-
Water Based Stains: These thinner stains use a water-based polyuethane, ideal for pine since it won't amber or yellow over time.
-
Lacquer Stains: These give even, consistent results but are applied via a sprayer, which not everyone has access to.
-
Gel Stains: These types of stains don't penetrate the surface of the wood deeply. Because gel stains sit on the surface, it helps avoid blotchiness common with pine.
-
What stain color is the best for pine wood?
That's up to you. Some woodworkers and crafters prefer a darker stain and use a deeper, oak-brown colour to give it a more mature hardwood look while others use a lighter stain on pine, so you can see the natural wood grain. Take a look at the different stain options available and perform a test area somewhere on your project or with excess material so you can review how it looks before you commit.
How do I apply stain to pine lumber?
Let's get into the steps so you can quickly and easily get your pine stained so it looks its best.
#1. Clean your wood
Stain works best when an applied on an even, clean surface. Before the staining process you should:
-
-
Sand your lumber to a smooth even finish
-
Spray a light amount of water from a spray bottle onto the wood
-
While still wet use a rag to wipe off any sawdust or debris from the lumber
-
This will ensure a clean surface so the stain will evenly apply.
If you're using lumber milled on your portable sawmill, you may want to put it through a planer or do heavy sanding to ensure a clean, smooth surface for the finish to attach.
#2. Apply your pre-stain conditioner
If you choose to use a pre-stain wood conditioner, likely if you're using an oil-based stain, then apply this. One coat should be fine. Apply and wait 15 minutes, checking to ensure even application.
If you're using an alternative stain or don't want to condition your wood then you can skip this step.
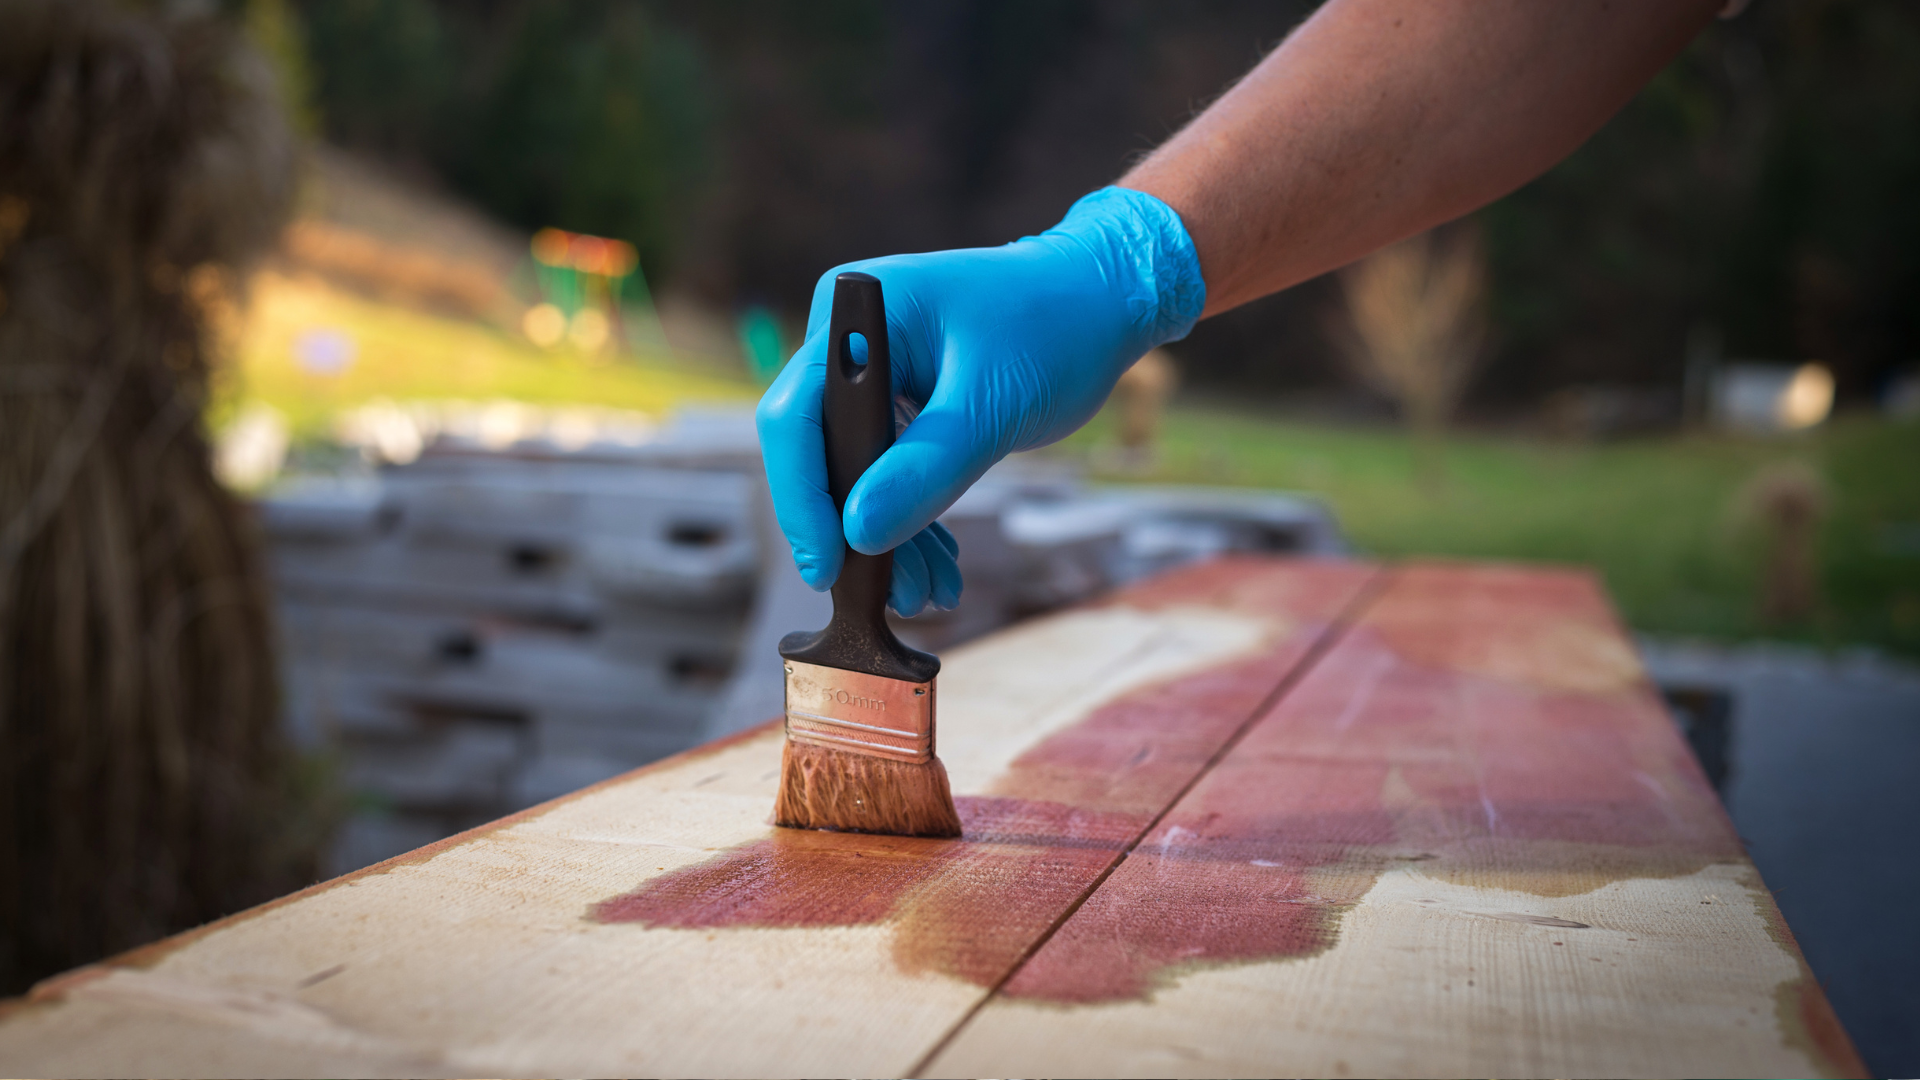
#3. Apply the first coat of stain
Open your can of stain and have an open work area free of obstructions. If you want, test the stain on some scrap wood before committing to this first coat, to ensure you like the results.
When you're ready to start, follow these steps:
-
-
Begin in an area that's hidden or where others are unlikely to see, so that if you don't enjoy the color you can switch to a different stain and not ruin the look of your project.
-
Use a paint brush and apply thin coats. If the stain pools or lumps up, use your paint brush to spread the stain evenly across the surface of the project.
-
If you've found you've applied too much stain to an area, use your paint brush and spread it out before it dries and saturates the wood. You may be able to hide this with a second coat though.
-
Try using a rag or sponge to apply stain in corners and hard to reach areas.
-
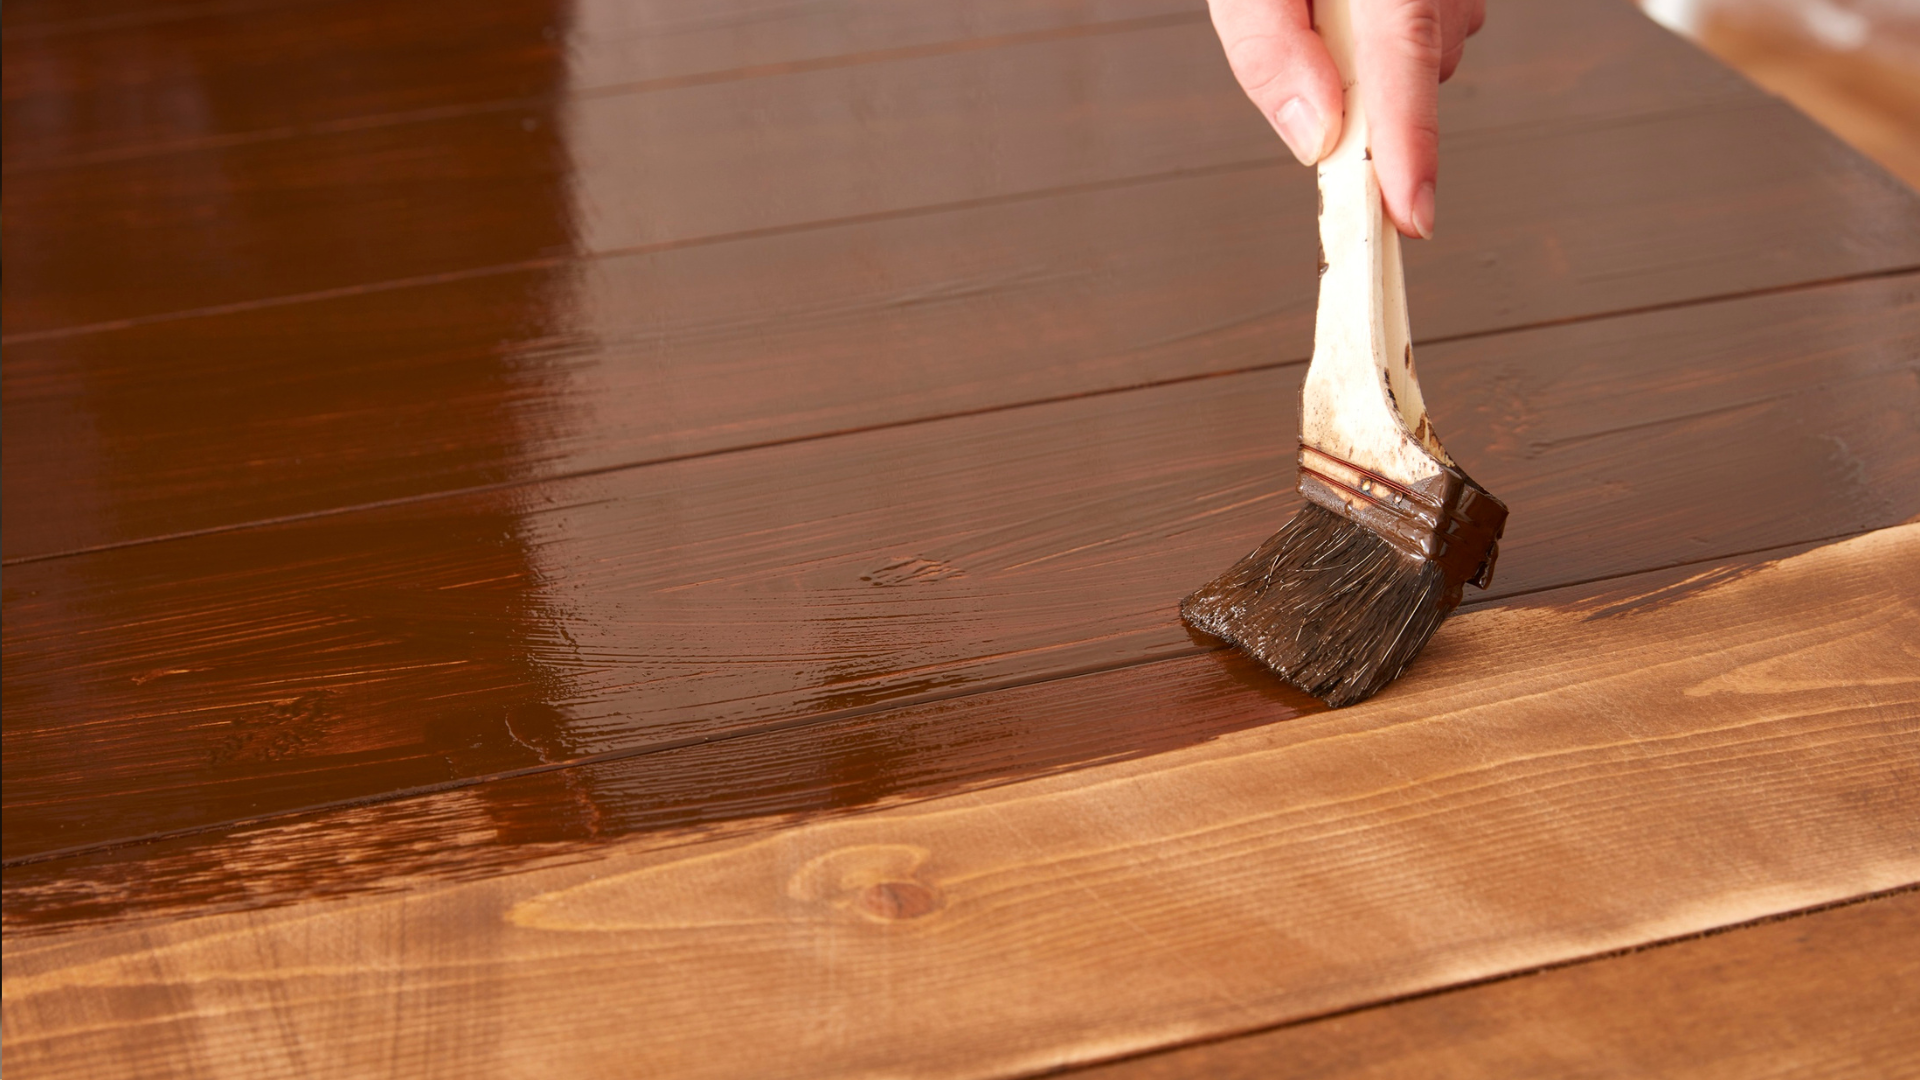
#4. Applying the final coat of stain
You generally want to wait between 6 hours to a full day between applying coats. Ensure the last one is completely dry before starting a second coat.
Check to see whether you need to apply secondary coats of stain. Outdoor projects like deck furniture or patios may require additional coats, while indoor ones that won't be exposed to weather may be fine.
Many modern stains consist of a sealer that seals in the stain, so second or third coats won't actually help and may lead to blotchy results.
If you do apply subsequent coats, remember that successive coats will have less dramatic results than the first.
As with all coats of finish, remember to apply an even stain so the wood properly absorbs it to give the best result.
Frequently Asked Questions
Q: Can I re-stain pine if I don't like how it turned out?
A: Lighter stains are easier to cover up. If you want to do a follow-up stain to cover up a poor stain job, you should go with a darker stain that's likely to disguise any mistakes.
Unfortunately once a stain is applied, it's difficult to remove. You can sand away the stain, but because stains penetrate the surface of the wood, this may be difficult and require a lot of work. It's often easier to re-stain in a darker color and hide the original stain then to sand it away and start over, but it is possible.
Q: What's the best way to sand pine lumber for staining?
A: Sanding the wood thoroughly before applying stain helps minimize milling glaze common in freshly milled lumber. You should use 100 grit sandpaper to remove rough spots on pine, while doing finish sanding with 220 grit sandpaper for a smooth surface.
If you're using milled lumber and you're finding the boards end up with wavy cuts that are difficult to sand, you may need to replace or sharpen your blades. A trip through a planer should clean up your boards and get them ready for staining though.
Q: I used water-based stain and it turned out blotchy and inconsistent, what happened?
A: Water-based stains can be applied a number of ways, and often the best results come from using a sprayer to lightly mist the finish onto the wood. This reduces the absorption rate of the finish and leads to a more even coat.
SHOP SAWMILLS
HM122
An entry-level sawmill packed with impressive features at a budget-friendly price. Designed for hobby sawyers or woodworkers looking for an economical solution to mill lumber.
HM126
One of the best-valued sawmills in the industry. A longstanding favourite that ensures smooth, accurate cuts. Perfect for hobby sawyers, entrepreneurs or seasoned woodworkers.
HM130MAX®
A wide capacity sawmill that produces stunning high-value live-edge boards. Loaded with features including our FULLCUT™ sawhead, RapidChange® blade system, auto lube, and more.
HM136MAX™
The ultimate solution for cutting wide live edge slabs, perfect for tabletops, counters, benches, and more. Our unique FULLCUT™ sawhead design ensures your logs' widest assets are left intact.
Join the Woodland Mills Community Facebook group. Search advice and insights from over 65,000 knowledgeable, supportive members.
- Pre-purchase considerations
- Sawmill set-up support
- Project inspiration photos and videos
- Community troubleshooting support