How to use a wood chipper: A guide for landscapers and landowners
Here is an explainer on the basics of wood chippers and a step-by-step guide to getting started
Wood chippers are powerful tools that can help make landscaping and property maintenance tasks much easier.
Whether you're a professional landscaper or a landowner managing a property, understanding how to use a wood chipper effectively is essential. This comprehensive guide will walk you through how to use a wood chipper, from preparation, to safety, to clean-up, ensuring you get the most out of your chipper. With a chipper, producing wood chips has never been easier.
What is a wood chipper?
A wood chipper is a machine designed to reduce wood into smaller wood chips. While most wood chippers are disc chippers, using a spinning flywheel with blades to chip material, these machines come in various sizes and types, to suit different needs and applications:
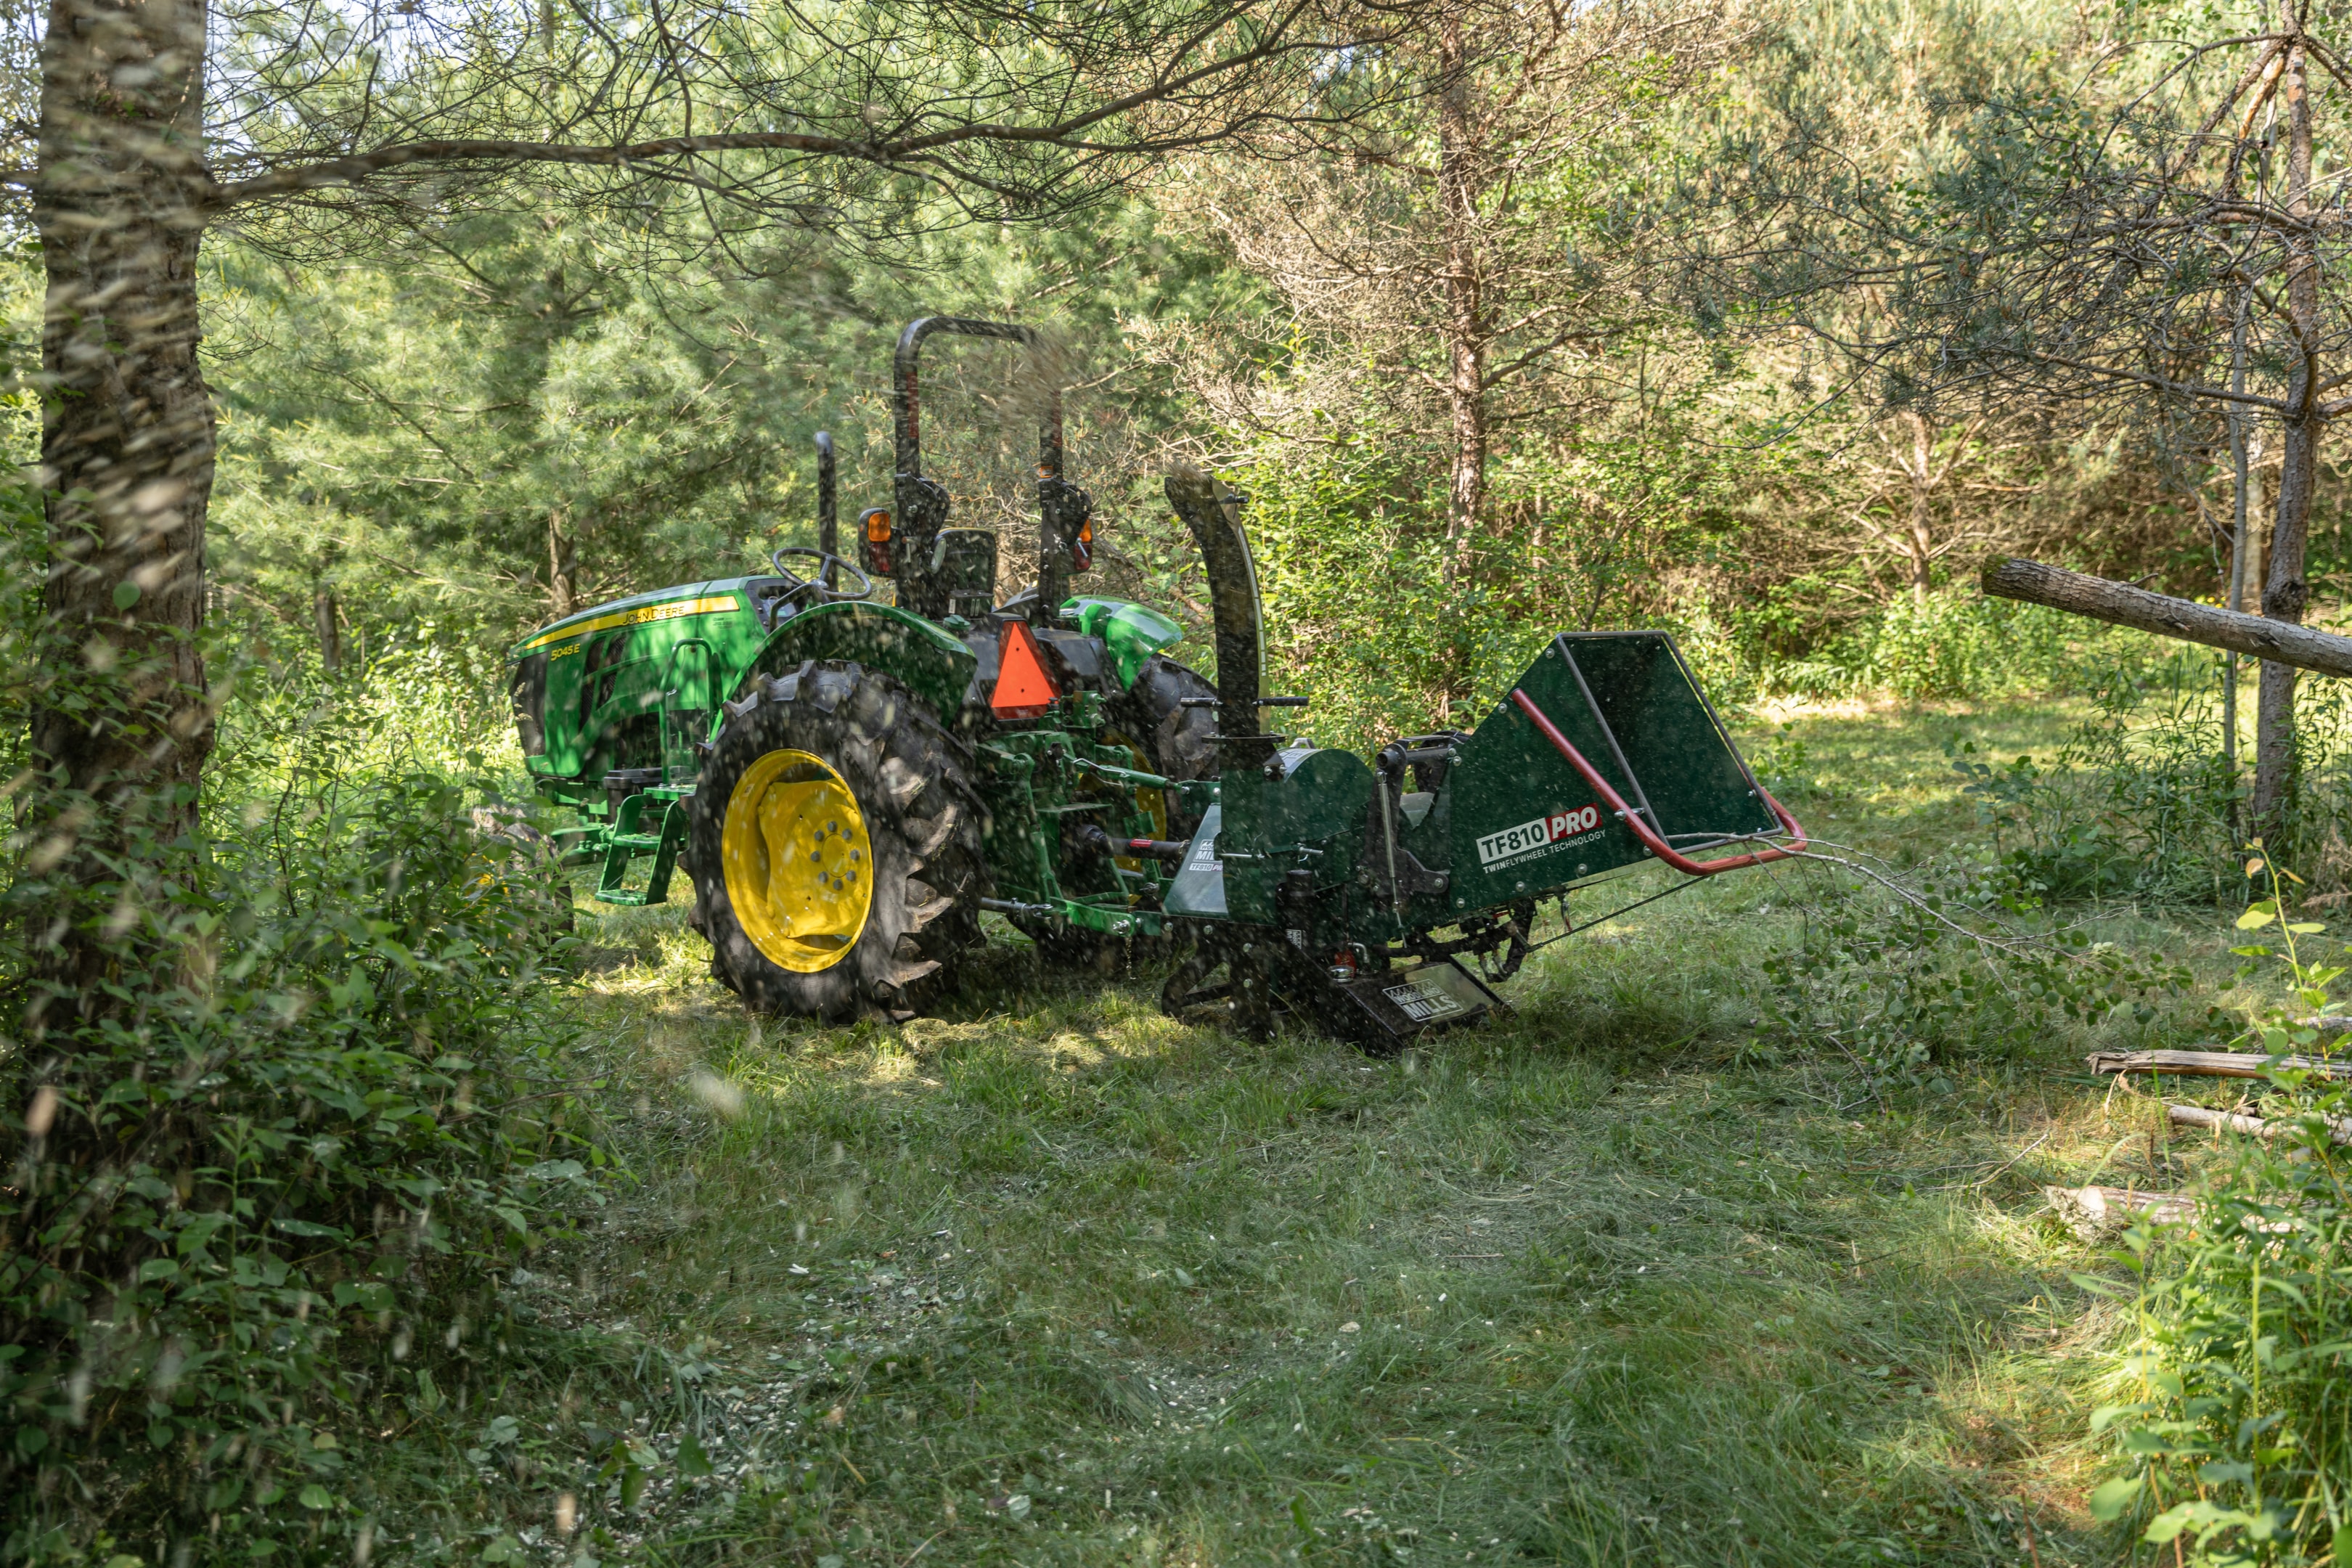
PTO-driven wood chippers: These attach to tractors and use the tractor's power take-off (PTO) system. They easily attach to your tractor's three point hitch and don't require a separate fuel source.
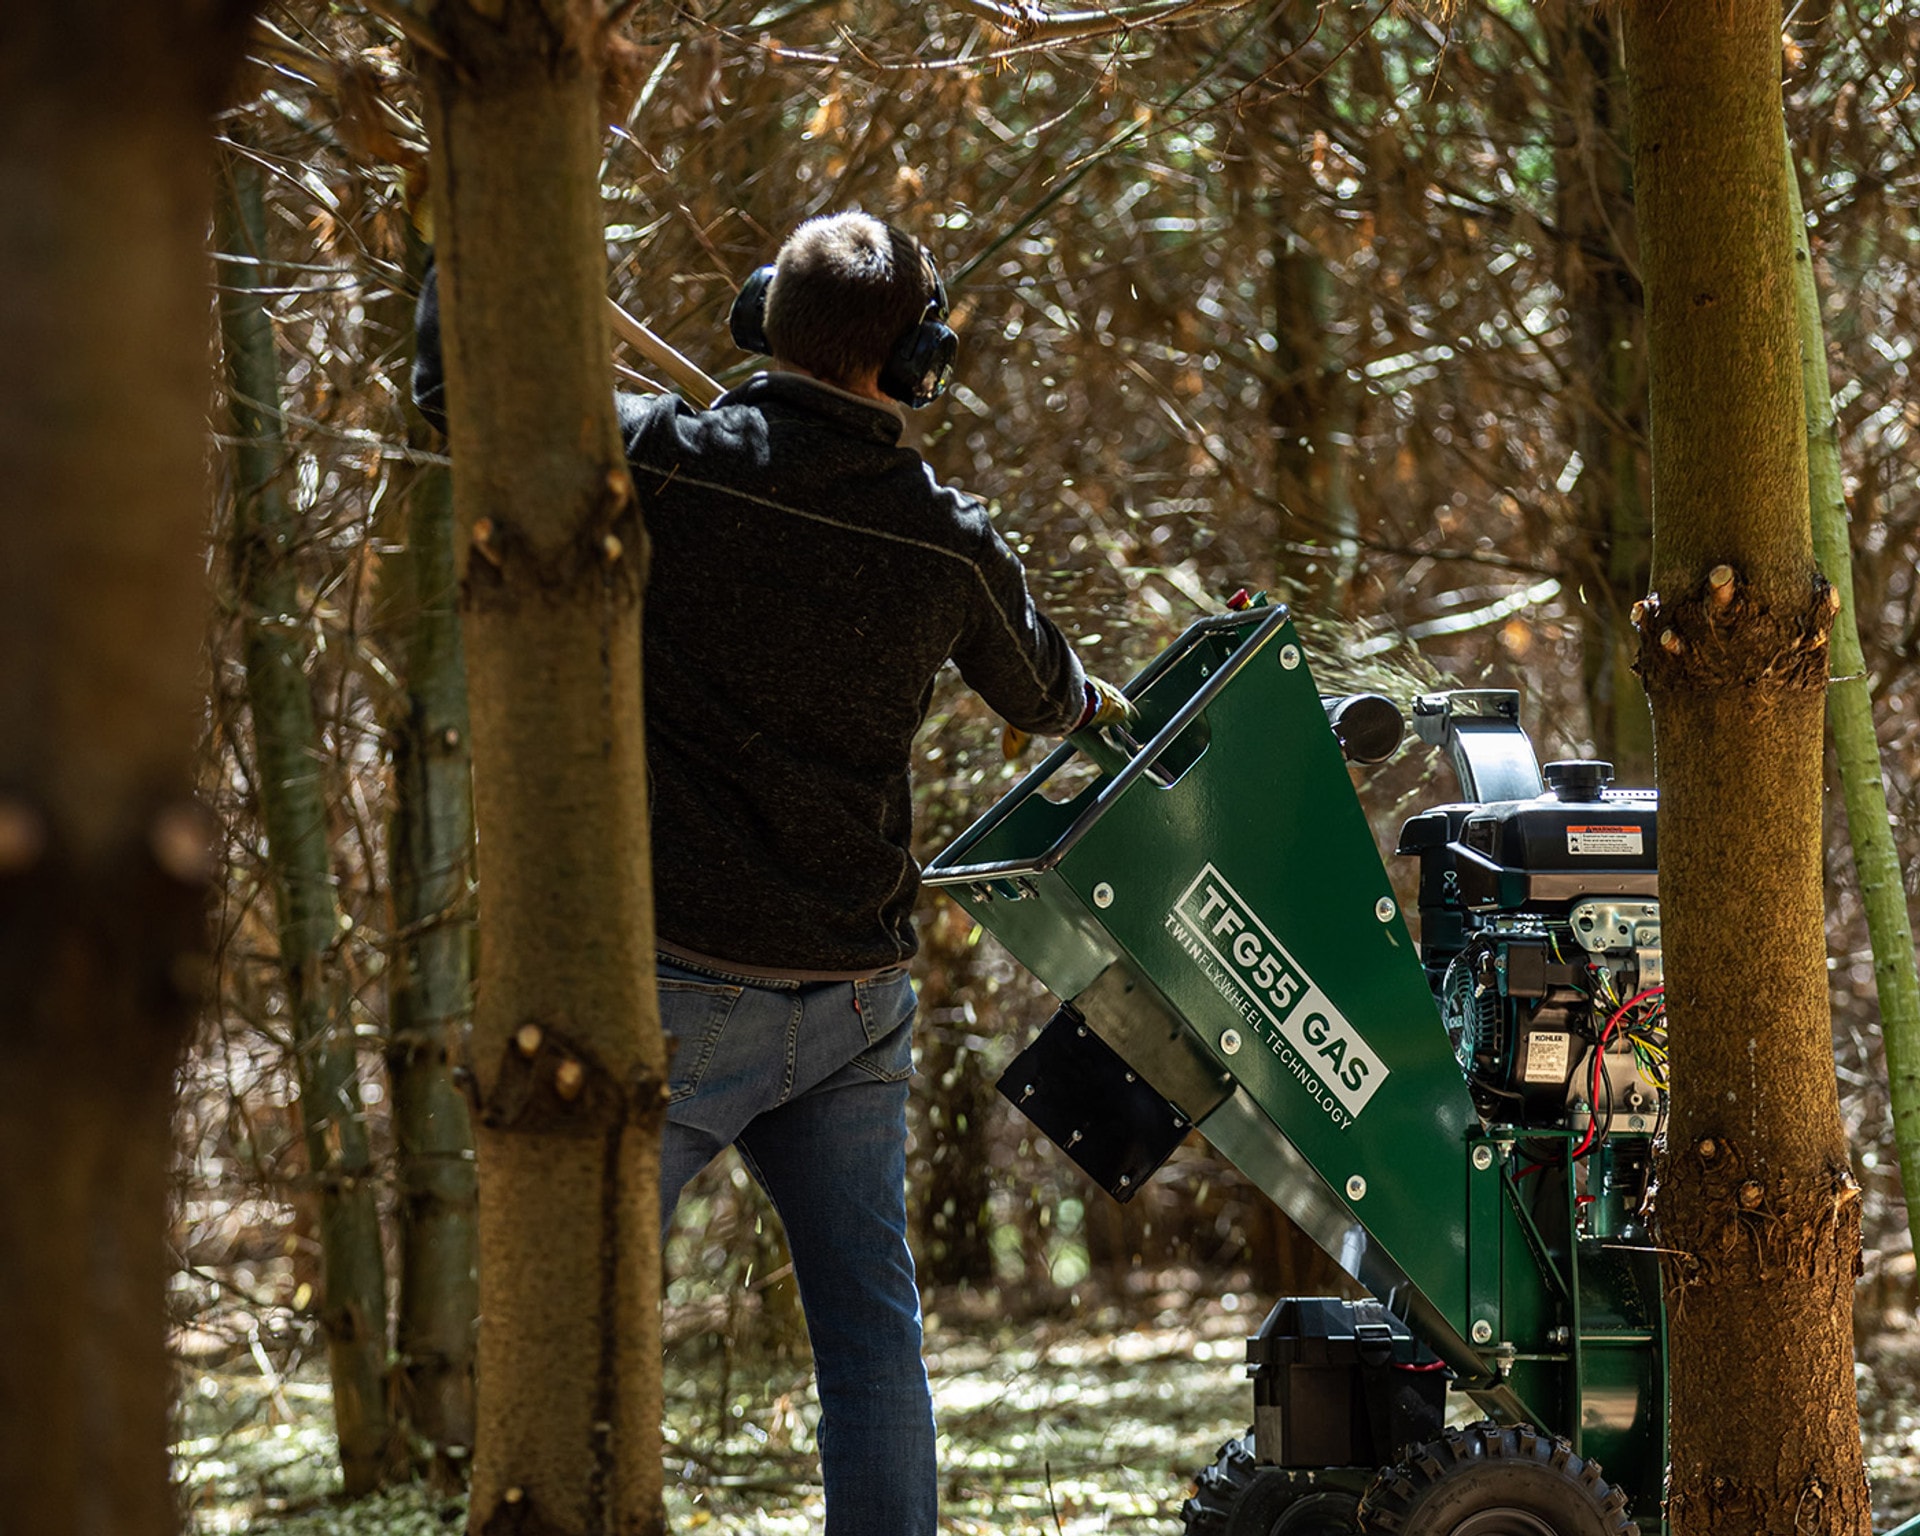
Gas-powered wood chippers: These offer power and mobility, as they don't need to attach to a tractor and can be hauled behind an ATV or other vehicle.
Electric wood chippers: Generally smaller and quieter, electric wood chippers are suitable for residential use and lighter tasks.
Wood chippers work by using sharp blades to cut or shred wood into smaller pieces. The resulting wood chips can be used for a variety of purposes, including:
-
-
Mulching garden beds
-
Creating pathways
-
Composting
-
Biomass fuel production
-
By turning bulky wood debris into manageable chips, wood chippers help reduce waste, save on disposal costs, and create useful materials for landscaping and gardening projects.
Step-by-step guide: How to use a wood chipper
Using a wood chipper effectively requires careful preparation, proper technique, and attention to safety. Follow these simple steps to ensure efficient and safe operation:
1. Preparation and Setup
Before starting the wood chipping process, proper preparation is essential.
Inspect the Machine:
-
-
Check for wear, particularly on the chipper blades which should be sharp
-
Make sure all the bearings are properly greased (check the Greasing section of the owner's manual)
-
Ensure the discharge chute and the flywheel drum is clear of debris
-
For a PTO wood chipper, make sure the PTO safety chains are attached to both the chipper and the tractor to prevent the PTO protective cover from rotating
-
Positioning:
-
-
Place the wood chipper on flat, level ground to ensure stability while chipping
-
Position the the discharge chute so it is pointing away from people, buildings, vehicles and yourself, so you don't end up with a face full of wood chips. Lock it in place with the spring-loaded latch
-
Gas/Power Source:
-
-
For PTO-powered wood chippers, be sure the PTO shaft securely connects your wood chipper to your tractor
-
For gas-powered wood chippers, check the fuel level and oil before starting
-
2. Safety Gear and Precautions
Safety should always be your top priority when using a wood chipper. Follow these wood chipper safety tips:
Wear Protective Gear:
-
-
Safety glasses or a face shield
-
Hearing protection
-
Sturdy work gloves
-
Steel-toed boots
-
Clear the Work Area:
-
-
Remove any obstacles or tripping hazards from the area around the wood chipper
-
Keep children and pets away from the work zone
-
Additional Safety Precautions:
-
-
Never reach into the hopper or discharge chute while the machine is running
-
Always stand to the side of the hopper when feeding material, never directly in front
-
Be aware of your surroundings and potential hazards at all times during operation
-
Avoid wearing:
-
-
Dangling clothing like necklaces or chains
-
Long hair, which should be tied back or tucked under a hat
-
Sandals, flip flops or any footwear which could cause tripping
-
3. Starting the Woodchipper
Proper startup is crucial for safe and efficient wood chipper operation. Remember to review the product's instructions. Each model may have specific startup procedures.
For PTO-powered wood chippers:
-
-
Start your tractor and hold the engine's RPM at a strong idle
-
Engage your tractor's PTO slowly
-
Push the red control arm to start the infeed rollers
-
For gas-powered wood chippers:
-
-
Check fuel and oil levels
-
Set the choke and throttle according to the owner's manual
-
Start the machine, whether by pull cord or electric start
-
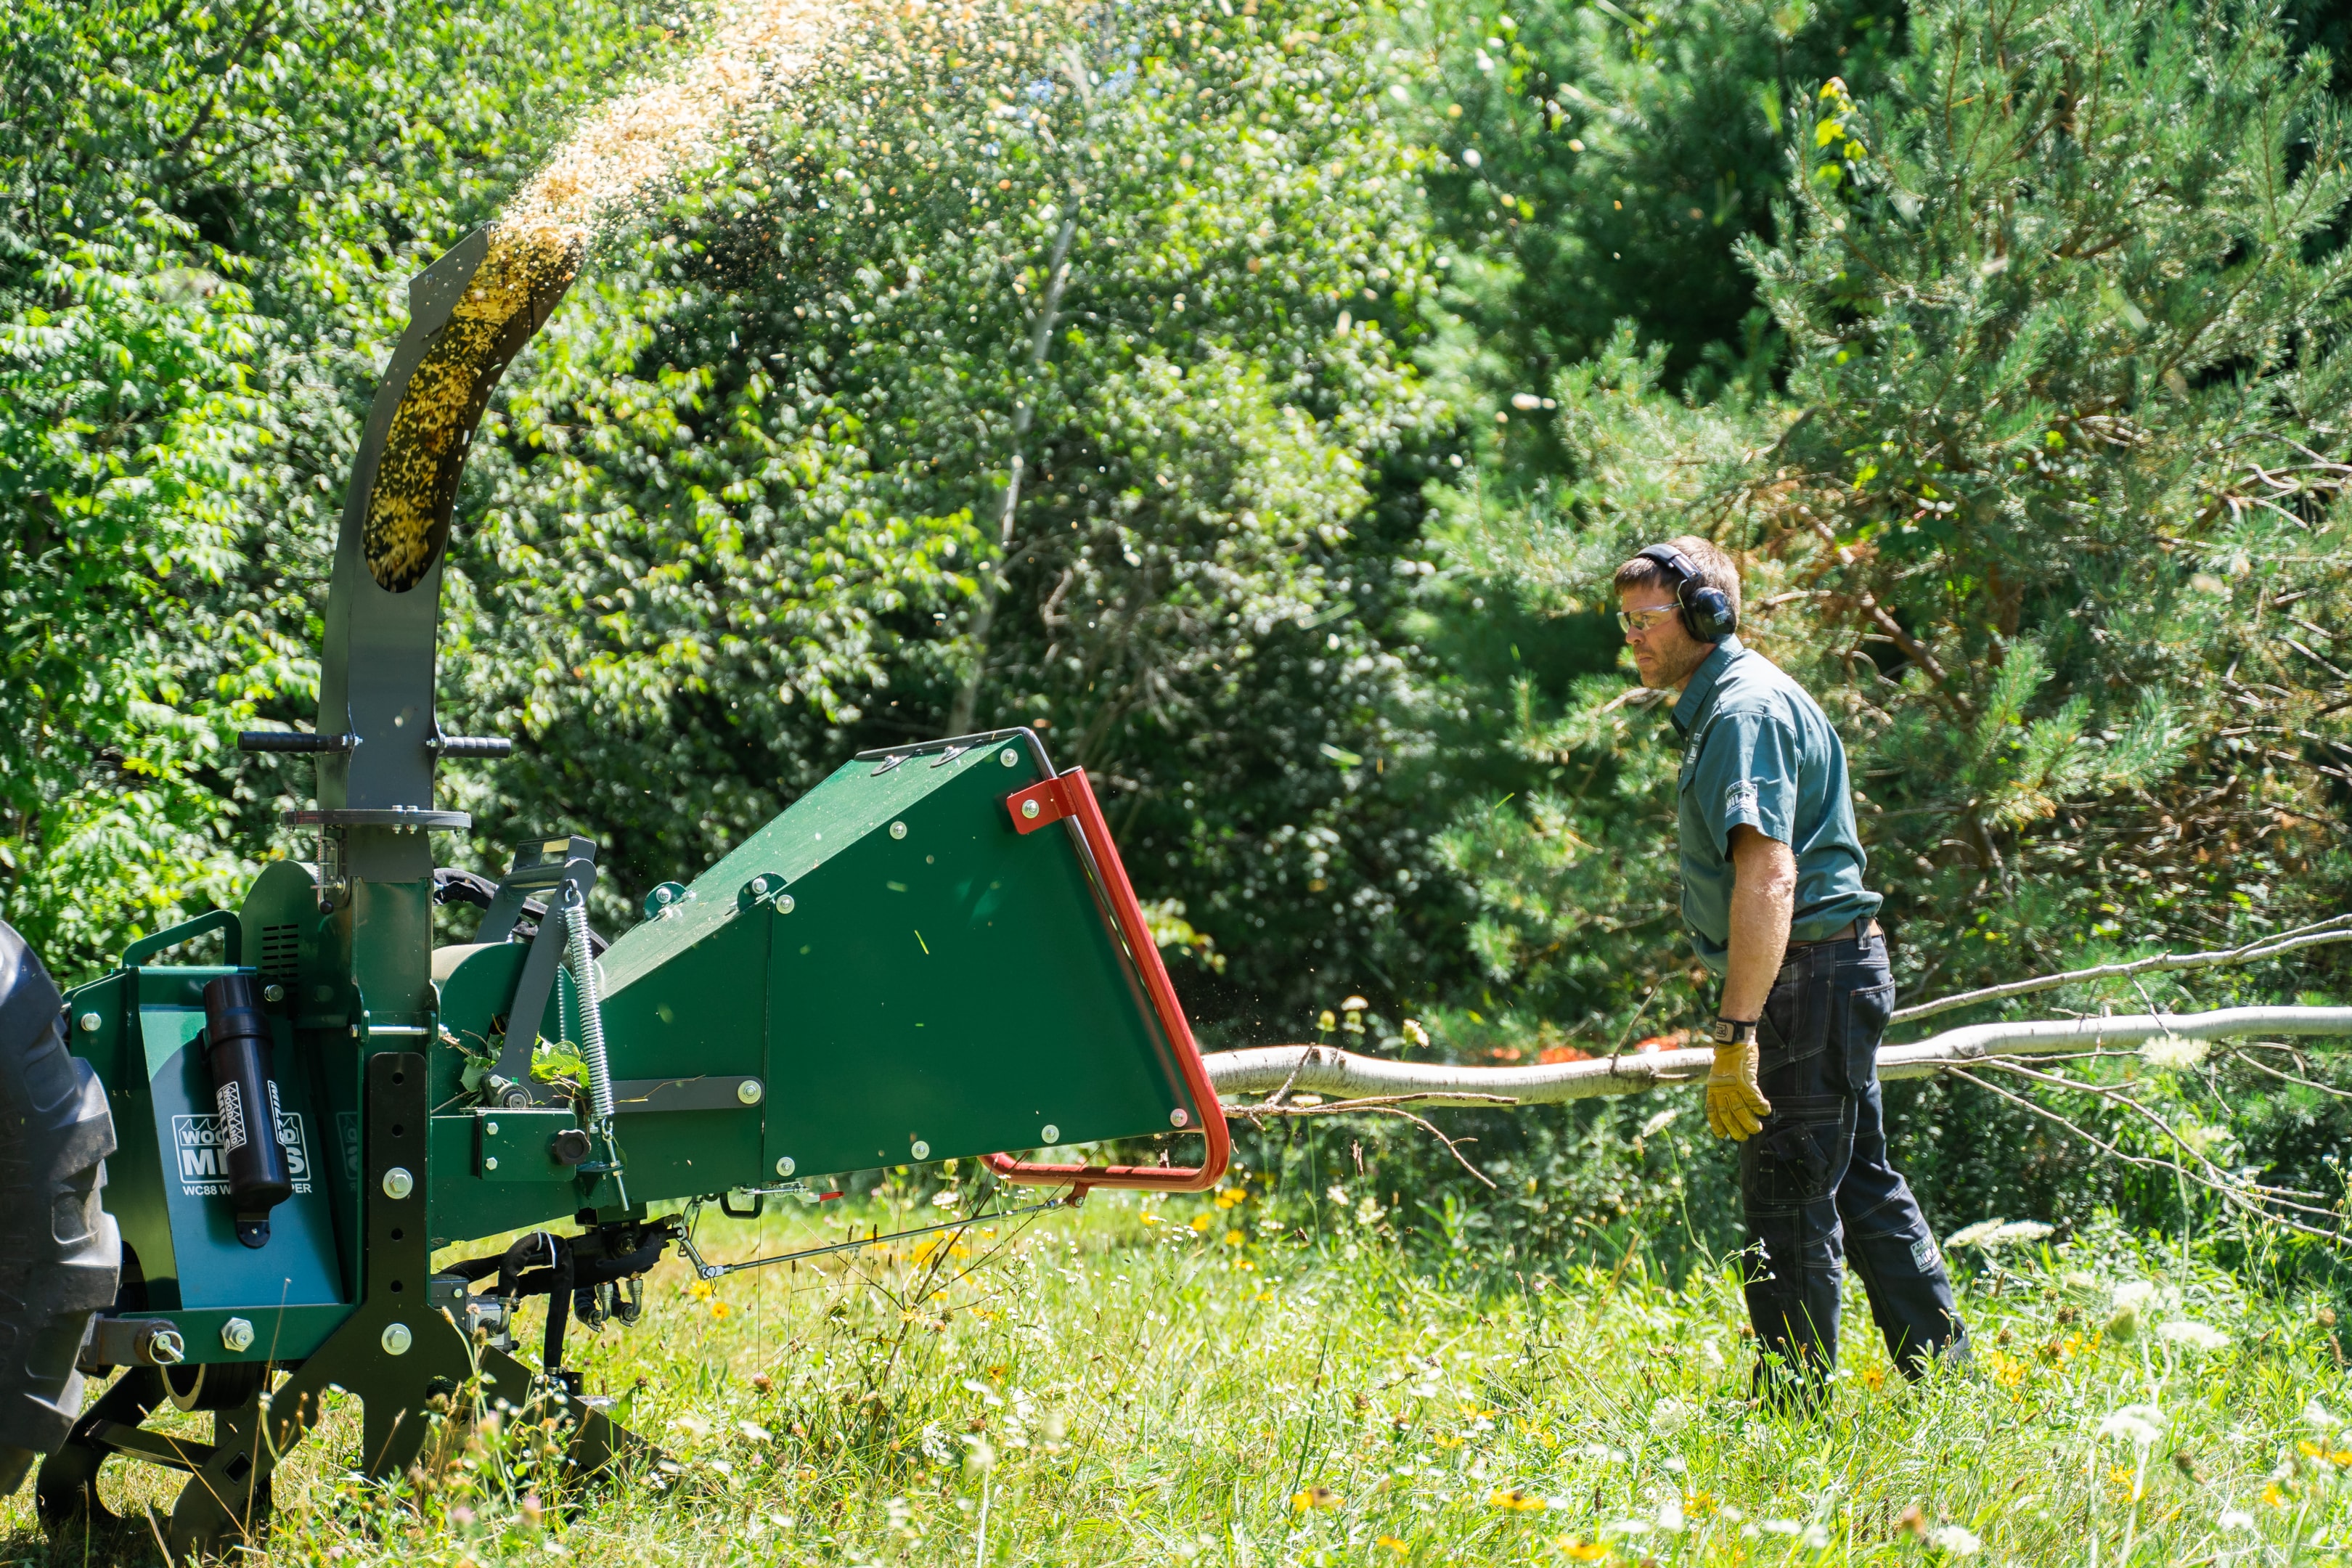
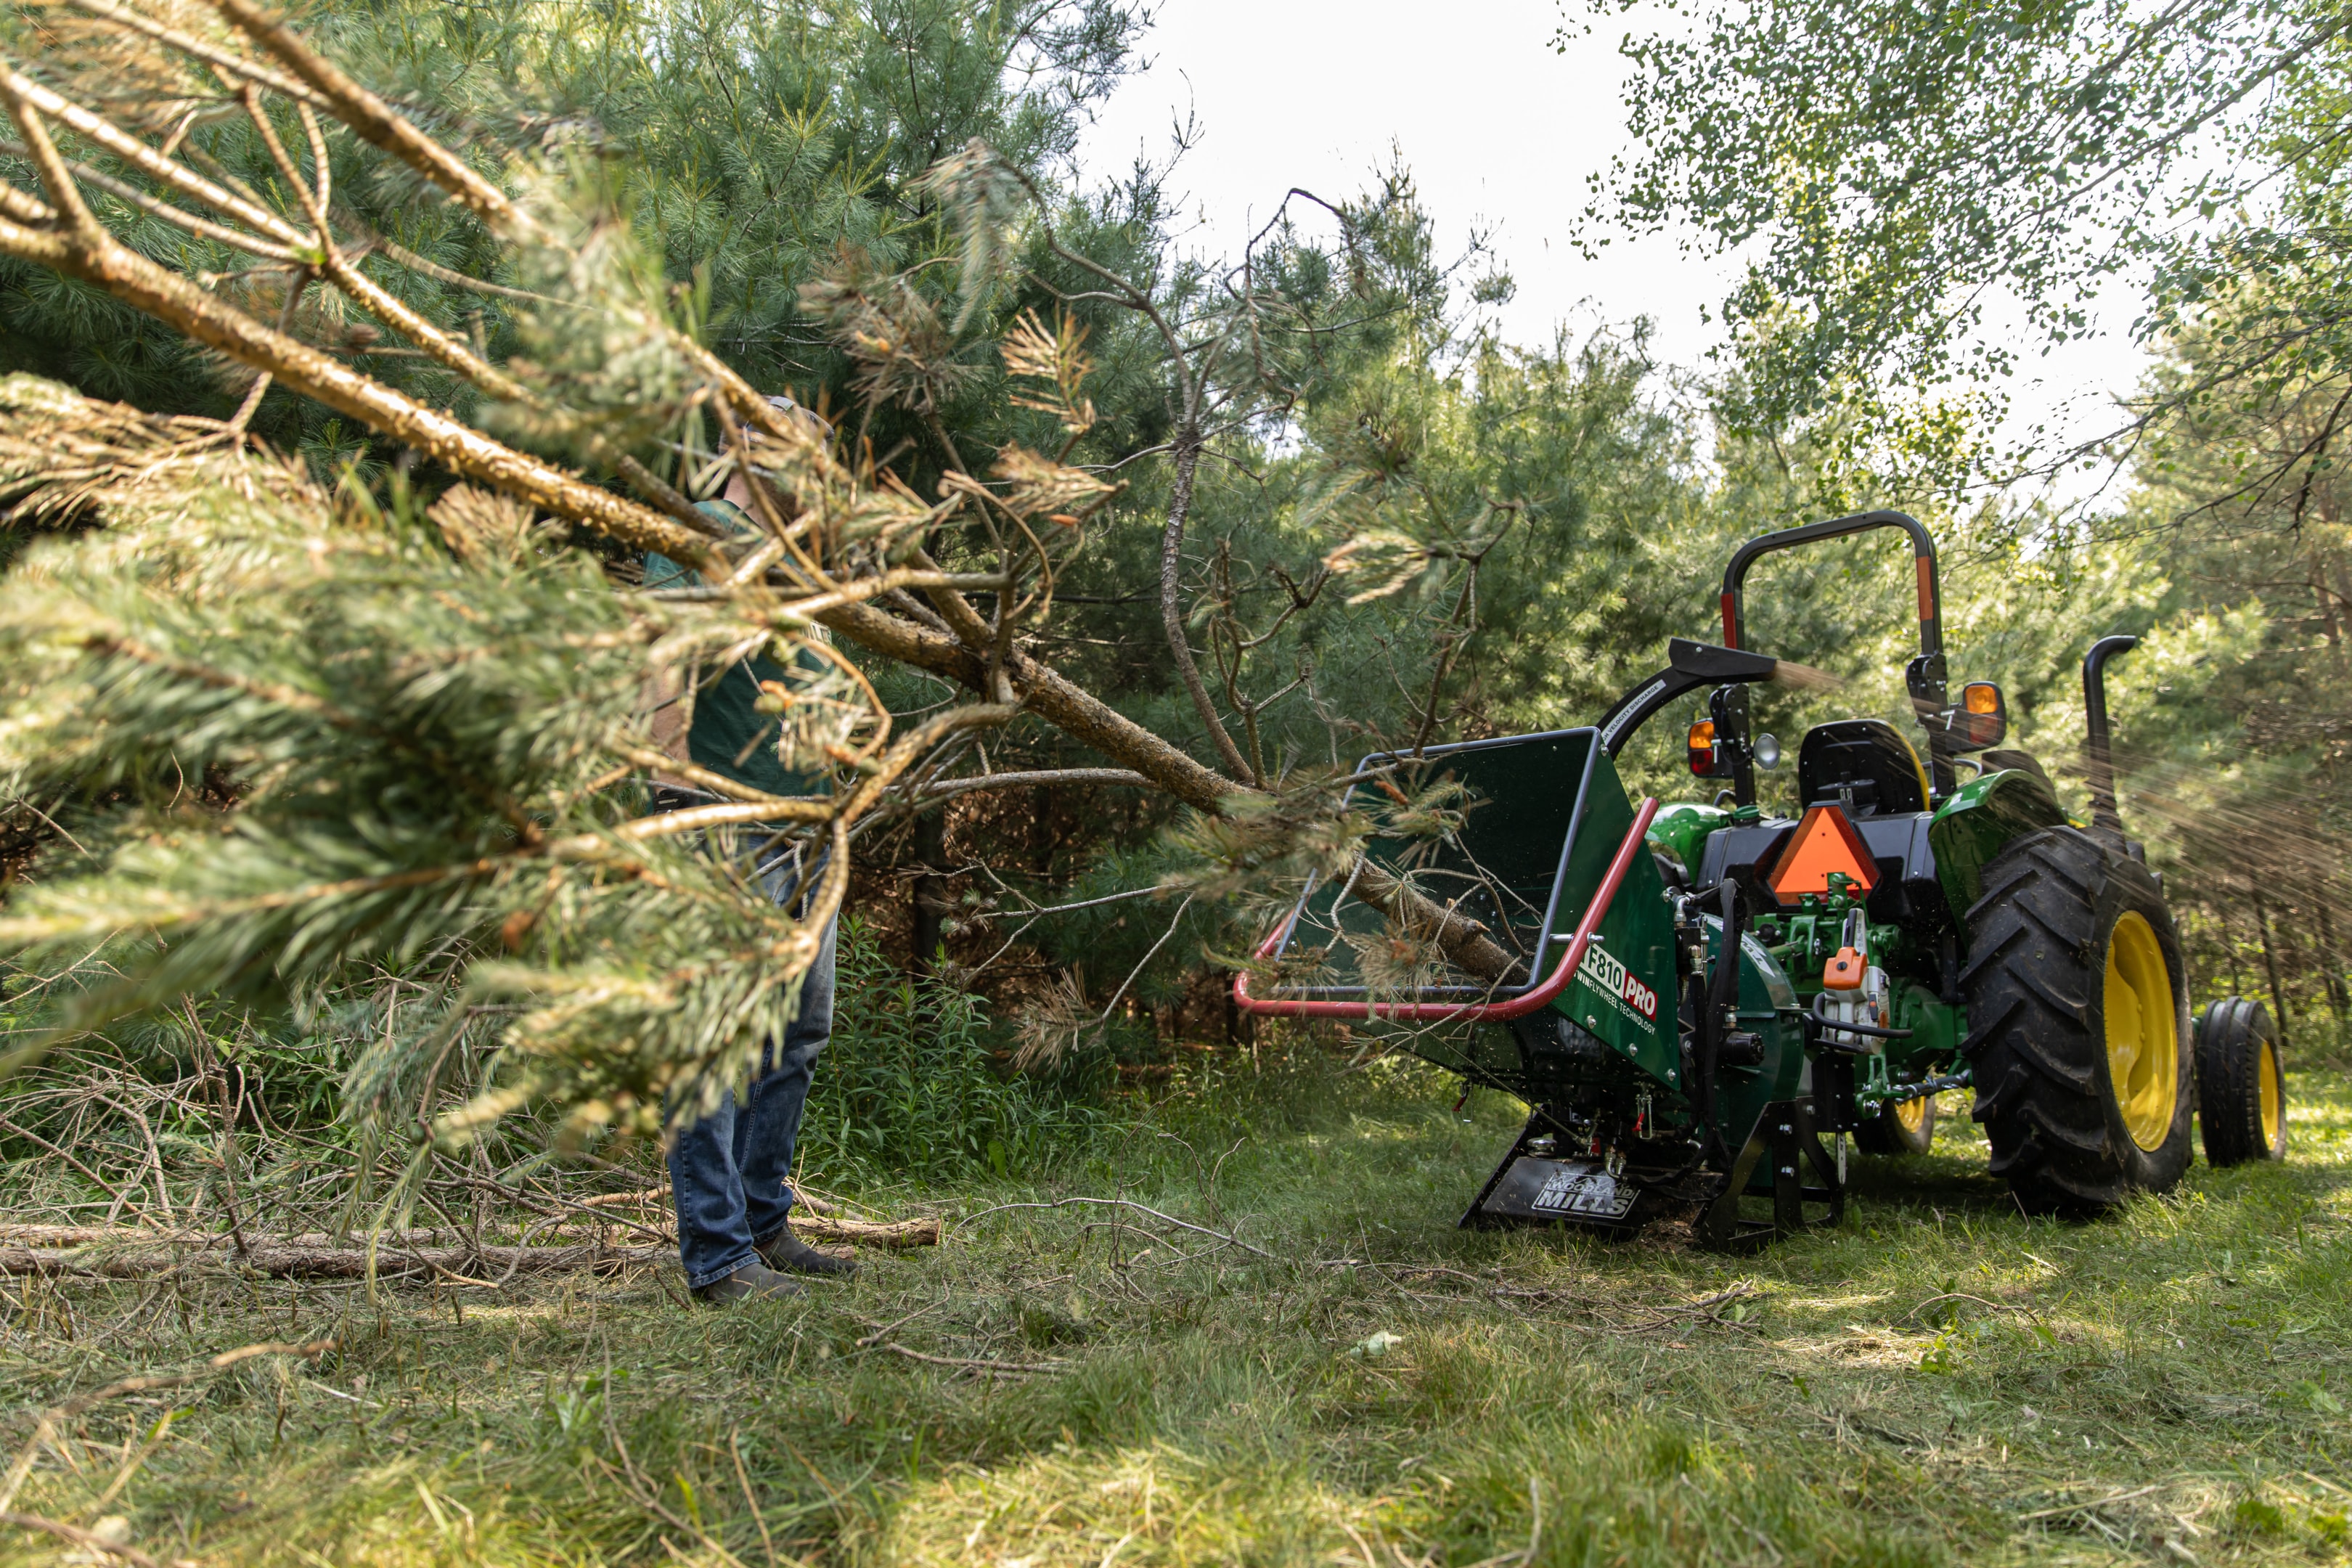
4. Feeding Material into the Wood Chipper
Proper feeding technique is essential for efficient chipping and safety.
Begin with Smaller Pieces:
-
-
Start with smaller branches as you become more familiar with the machine
-
Gradually increase the size of materials as you progress
-
On models equipped with self-contained infeed systems, you can adjust the rate of the infeed roller as you manage different size branches
-
Feed Material Slowly:
-
-
With a hydraulic infeed system, allow the chipper to pull material in rather than forcing it
-
Feed branches butt-end first to improve chipping efficiency
-
With a gravity-feed system, you will use both manual pressure and gravity to feed branches down the chute and into the flywheel. Be careful not to extend your arms too far into the chute
-
Monitor the Discharge Chute:
-
-
Ensure chips are being expelled properly
-
Stop feeding if you notice any blockages or unusual noises
-
5. Efficient Chipping Techniques
Maximize your wood chipper's performance with these techniques:
Know the Difference Between Dry and Green Material:
-
-
Dry and green limbs may make a difference to your chipping. Fresh lightweight and leafy material can cause jams, so it may be wise mix such material with heavier or larger material to ensure it's carried through the chip stream
-
Twin Flywheel chippers can more consistently chip dry and green leaves and fresh green lawn debris. The second flywheel aids with airflow inside the machine to more efficiently process different kinds of materials
-
If you're having issues, alternate between chipping dry and green limbs to improve the consistency of your chipping experience
-
Feed Consistently:
-
-
Make sure the chipper is operating at full speed while chipping
-
Maintain a steady feed rate to keep the machine running efficiently
-
Avoid overloading the hopper, which can lead to jams or reduced performance
-
If some branches are causing trouble, trim any side branches from it and then try again
-
Do not:
-
-
Use hand tools to push brush into the chipper, this could potentially go through the chipper and damage the machine
-
Lean or extend any part of your body into the infeed chute
-
Leave the tractor/wood chipper running while unattended
-
7. Shutting Down the Wood Chipper
Proper shutdown is as important as startup.
Turn Off the Engine:
-
-
For PTO chippers, move the tractor throttle to SLOW/IDLE position, disengage your tractor's PTO and allow time for the chipper to come to a complete stop
-
For gas-powered chippers, turn the engine switch to 'OFF' or engage the emergency stop button located above the feed chute
-
Inspect for Debris:
-
-
Check the infeed and discharge chutes for any remaining material
-
Clean out any debris to prevent rust and ensure the machine is ready for its next use
-
8. Put the Wood Chips to Use
Don't let all those chips go to waste:
-
-
Use as mulch in garden beds to suppress weeds and retain moisture
-
Create natural pathways in your garden
-
Add to your compost pile as a carbon-rich material
-
Use as a base layer for raised beds
-
Store in lawn sturdy trash bags for future use
-
Final Tips for Efficient Wood Chipping
-
-
Schedule wood chipping tasks for when you have a significant amount of debris, to avoid frequent setup and takedown
-
Create designated piles of debris to streamline the chipping process
-
Use the wood chips immediately in your landscaping or store them properly for later use
-
Keep your chipper blades sharp for the best performance and chip quality
-
Work with a partner whenever possible for added safety and efficiency
-
More FAQs
What should I remember when wood chipping?
Start by ensuring all safety measures are in place, including hand and ear protection. Turn on the machine and allow it to reach full speed. Feed material slowly into the hopper, allowing the machine to pull it in. Monitor the discharge and adjust your feeding rate as necessary. Always follow the manufacturer's specific instructions for your model.
What are the benefits of a wood chipper?
Wood chippers are used to reduce branches, twigs, and other wooden debris into smaller wood chips. These chips can then be used for mulching, composting, biomass fuel, or erosion control. Wood chippers help manage yard waste efficiently, reducing the volume of material and creating useful by-products for landscaping and gardening.
Are wood chippers worth it?
Wood chippers can be a valuable investment for anyone with property, as well as tree pruning or landscaping needs. You can turn dead trees on your property into a valuable resource. They save time and effort in processing yard waste, reduce disposal costs, and create useful wood chips.
Now you know how to use a wood chipper
Using a wood chipper effectively requires proper preparation, attention to safety protocols, and an understanding of efficient chipping techniques. By following these guidelines, you can safely transform your yard waste into valuable wood chips while maintaining your wood chipper for years of reliable service.
SHOP WOOD CHIPPERS
WC46 4" PTO
The WC46 chipper has a chipping diameter up to 4". It's designed for tractors with 15-30 HP at PTO and features an auto-hydraulic infeed system and 360-degree swivel discharge.
WC68 6" PTO
The WC68 chipper has a chipping diameter up to 6". It's designed for tractors with 20-50 HP at PTO and features an auto-hydraulic infeed system and 360-degree swivel discharge.
WC88 8" PTO
The WC88 chipper has a chipping diameter up to 8". It's designed for tractors with 35-100+ HP at PTO and features heavy-duty construction and an auto-hydraulic infeed system.
TF810 PRO PTO
The TF810 PRO chipper features our patented Twin Flywheel Technology. Designed for tractors with 35-100+ HP at PTO, it has a chipping diameter up to 8" and auto-hydraulic infeed system.
Join the Woodland Mills Community Facebook group. Search advice and insights from over 65,000 knowledgeable, supportive members.
- Pre-purchase considerations
- Sawmill set-up support
- Project inspiration photos and videos
- Community troubleshooting support